|
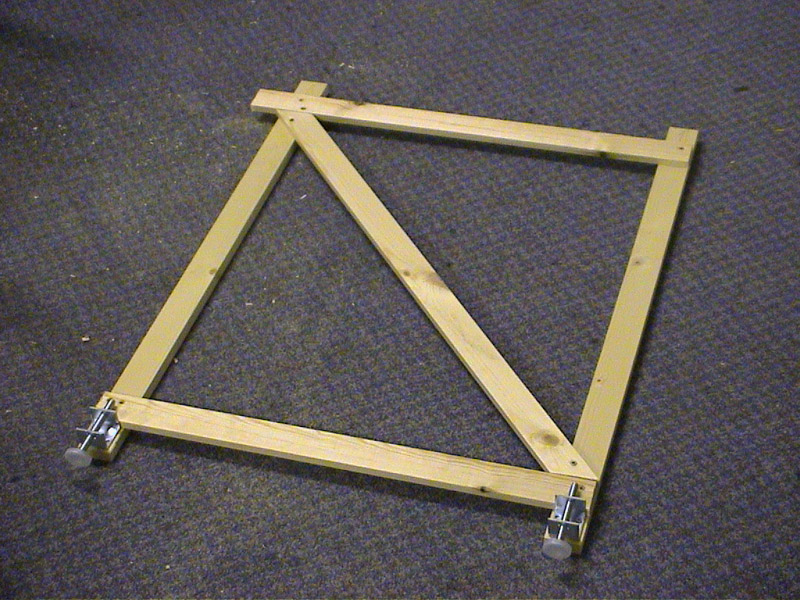
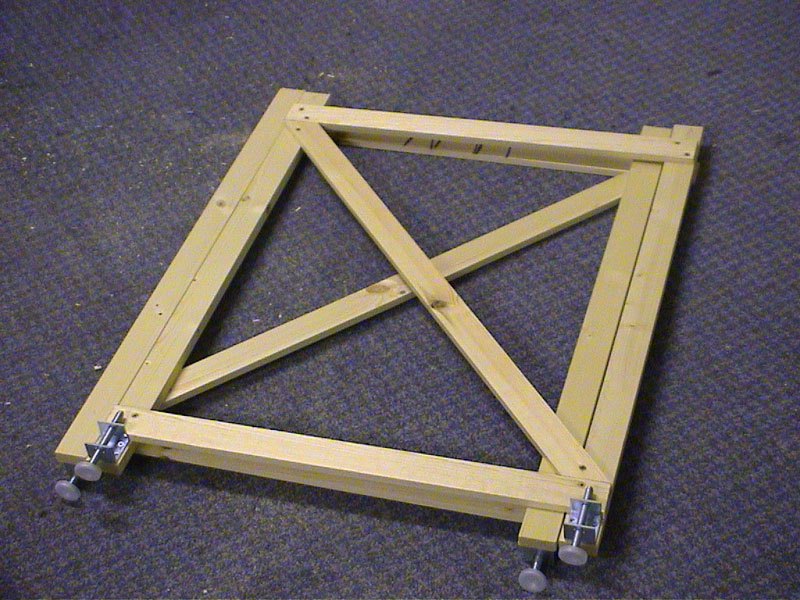
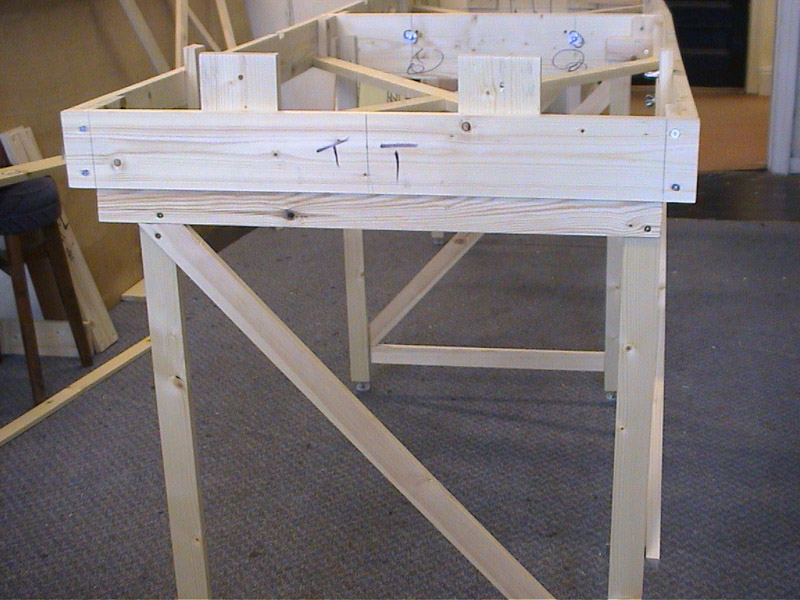
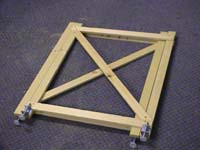
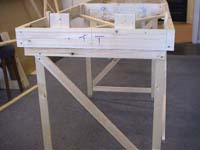
Three leg units are made to size using light timber. The height is determined by the height of the rest of the layout boards. Each unit has a diagonal brace for strength and to prevent distortion with time. |
 |
|
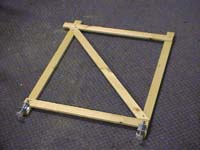
The width of the leg units is less than the inside width of the open frames, such that two leg units can fit together inside the frame for transport.
|
|
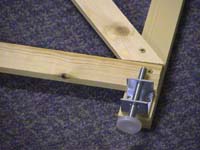
Fix height adjusters on the bottom of the legs. These ones come from Rural Railways.
|
 |

|
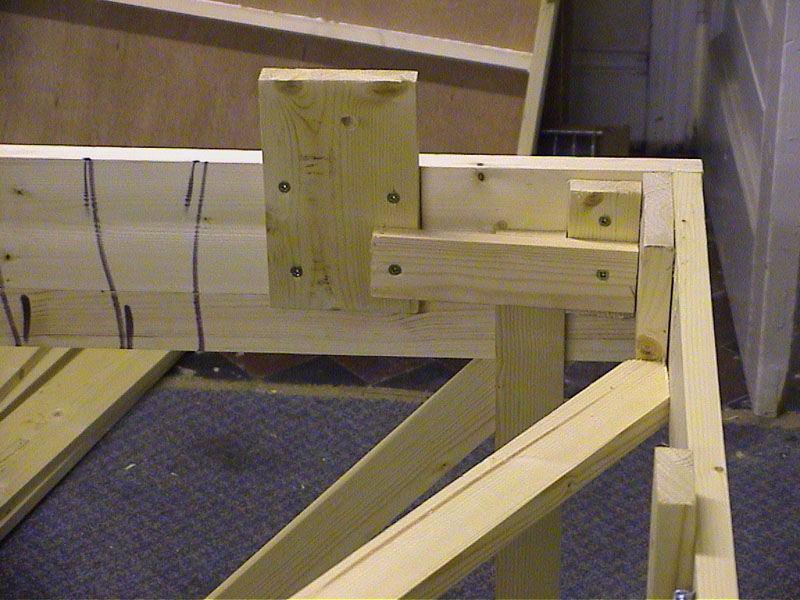
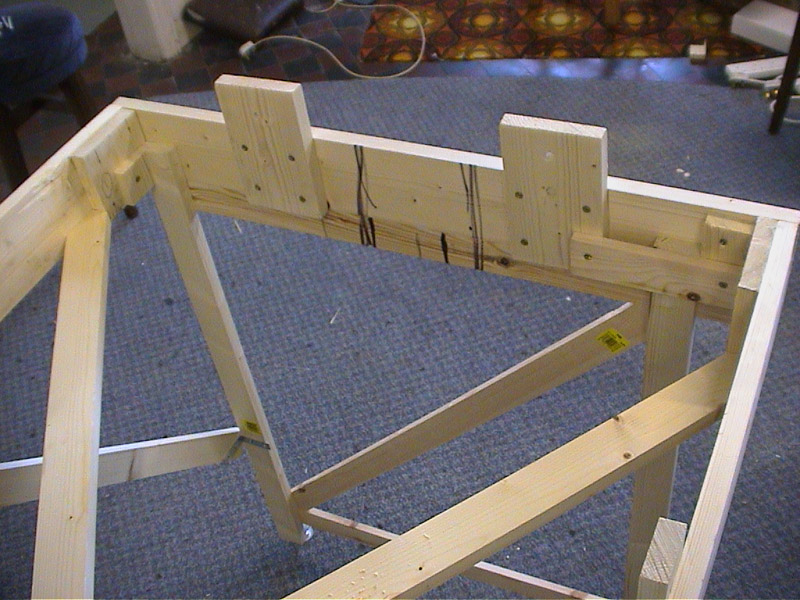
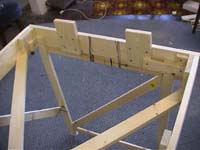
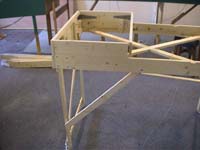
Make guides for the legs inside the open frames (see week 1)from small scraps of timber. The legs sit inside the frame, with the frame resting on the cross member of the legs. The legs are not bolted onto the frames at this stage. |
|
 |
|
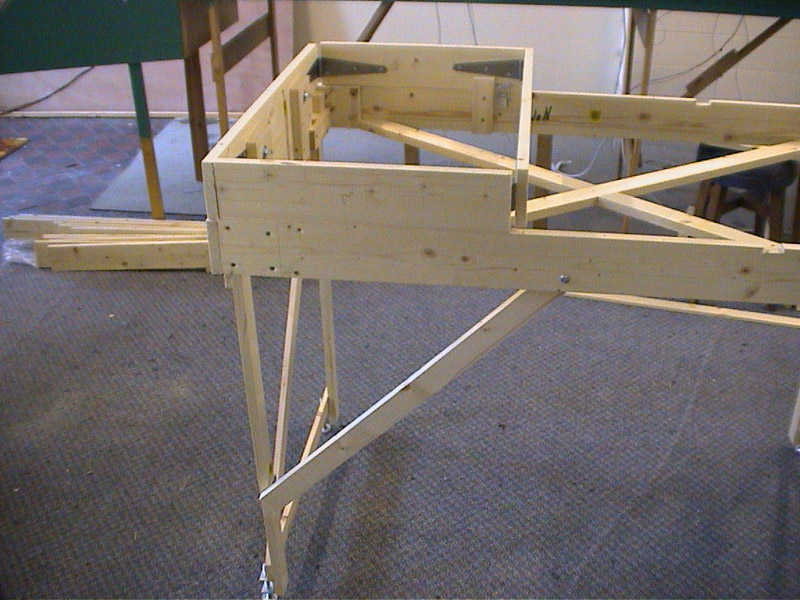
An additional diagonal brace is added to oposite sides of the end legs. These are bolted to the frame and the leg. |
 |

|
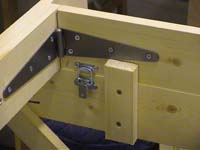
The small folding boxes, which we made last week, are placed in position at each end over the guide pieces. Bolt holes are drilled through the large end guides to bolt the boxes onto the open frames.
|
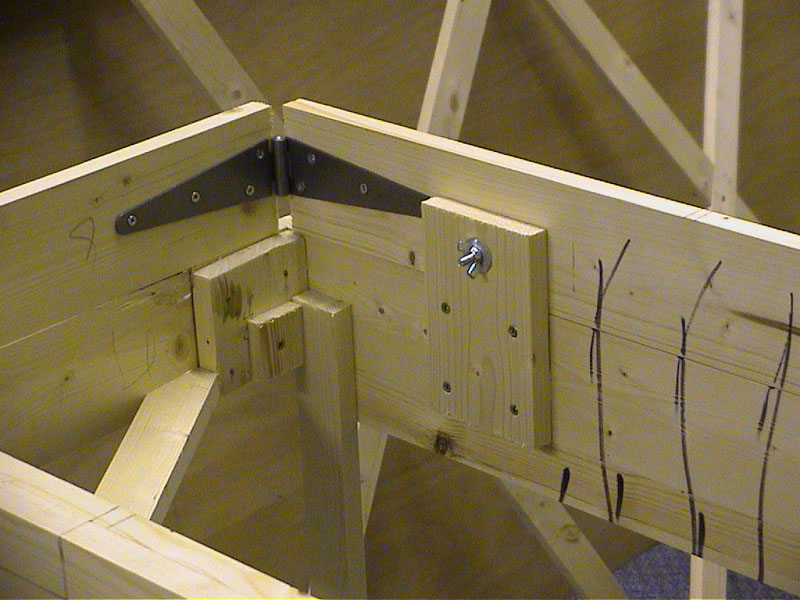
| An extra clip is added on the inside face of the sides to lock into place. This provides additional stability to the assembled unit.
|
 |
|
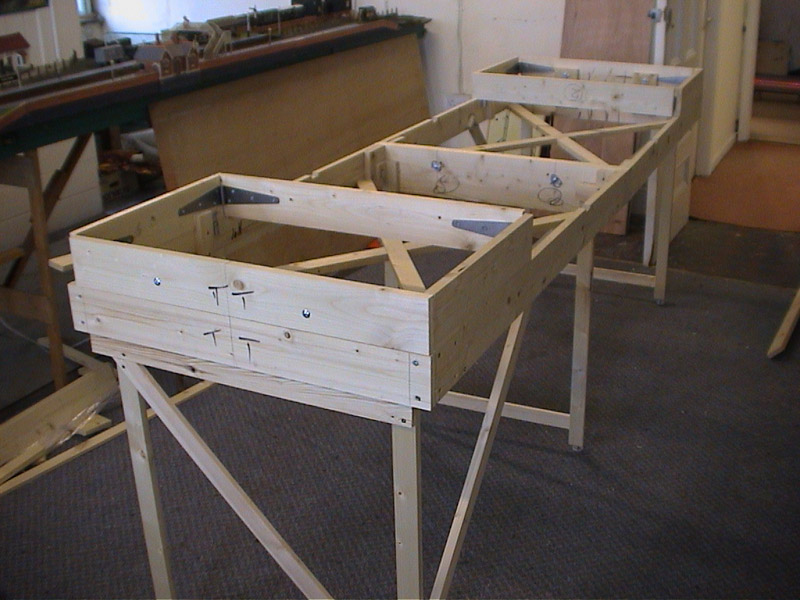
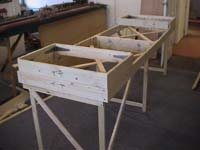
The framework for the traverser is now more or less complete.
|
Next week we make the traverser top.