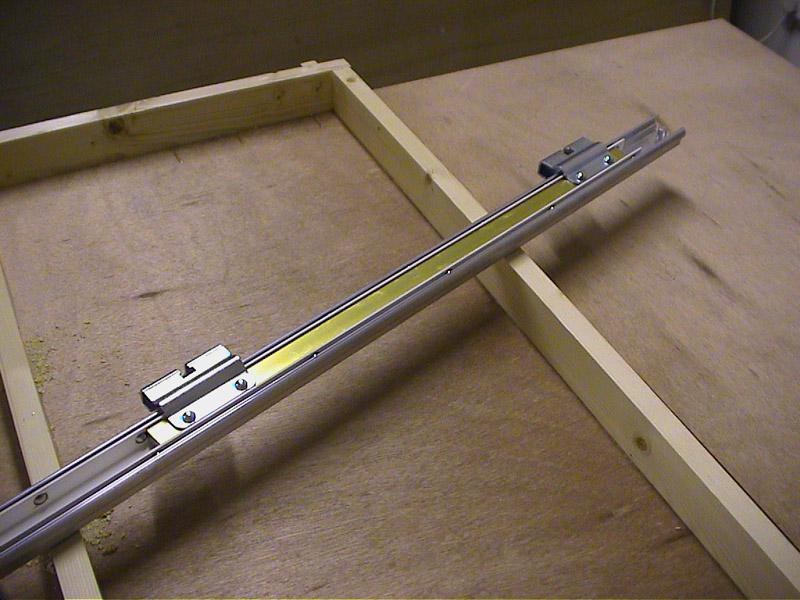
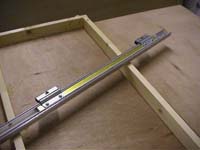
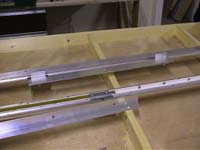
Two 3 foot sliding door mechanisms are purchased from a specialist DIY shop. (The major chains don't seem to stock this item these days).
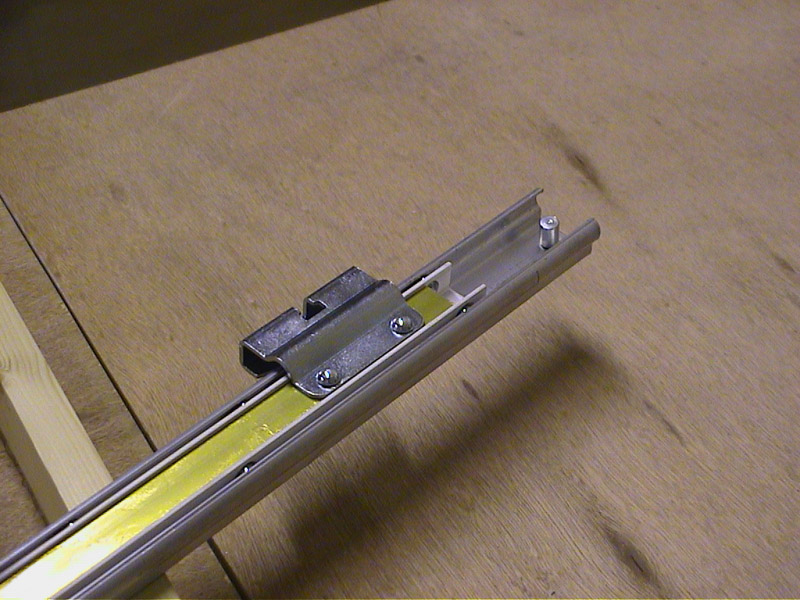
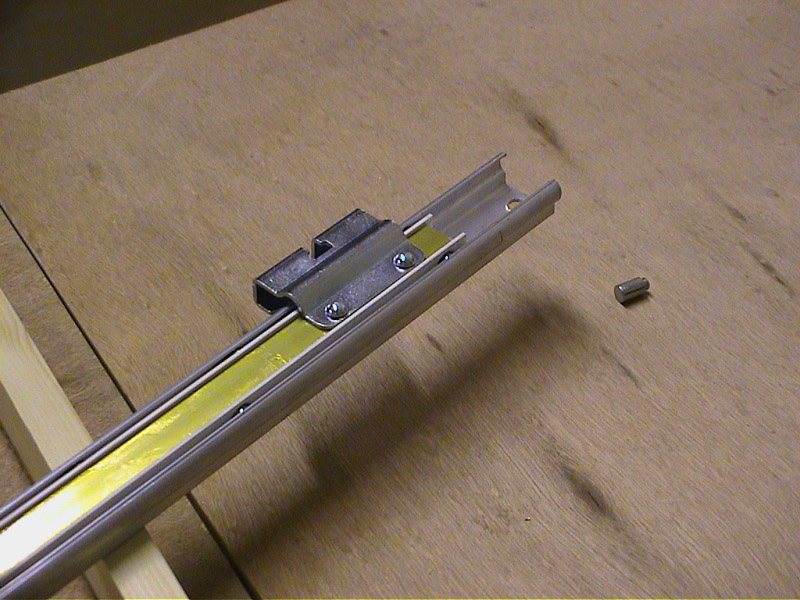
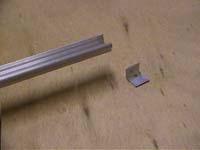
The end stop is removed (these can be modified to look like milk churns in O-gauge!!)
|
 |
|
 |
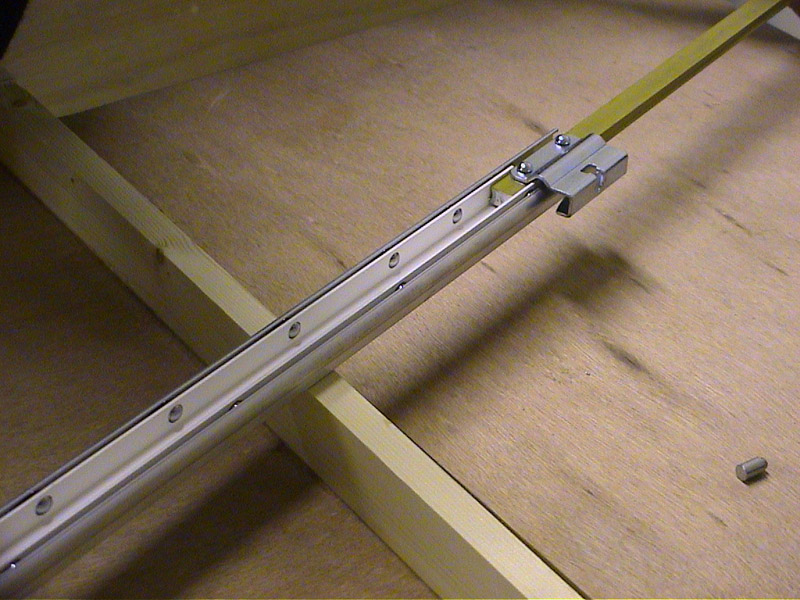
The sliding arm is removed and replaced upside down
|
|

|
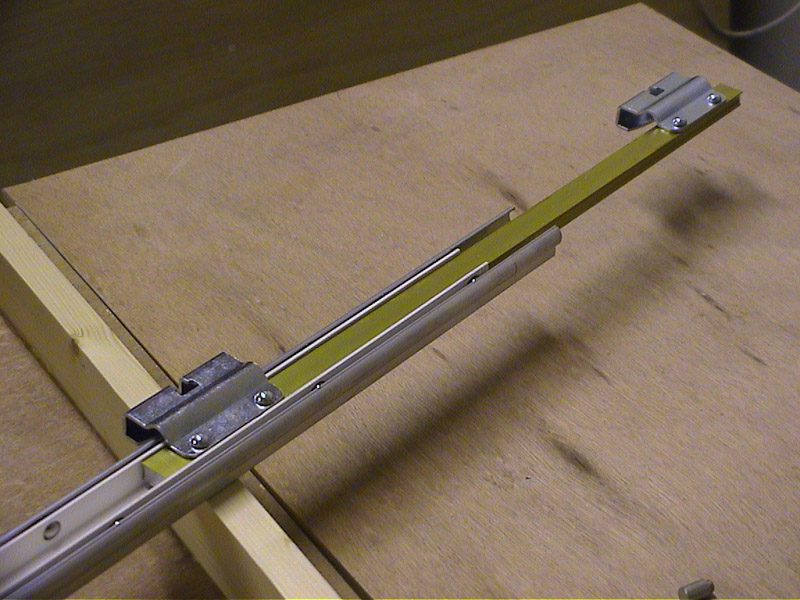
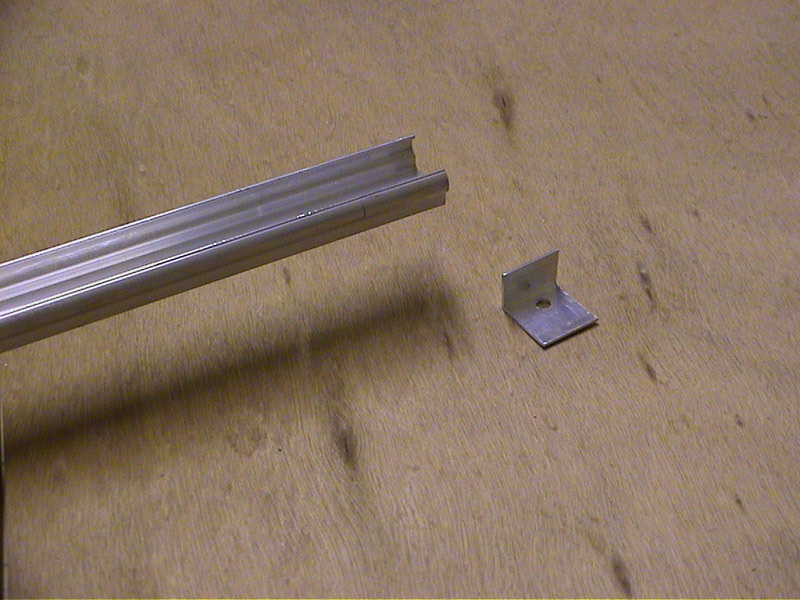
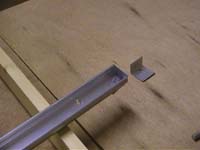
A small piece of angle aluminium is bolted in place of the end stop.
|
|
|
|
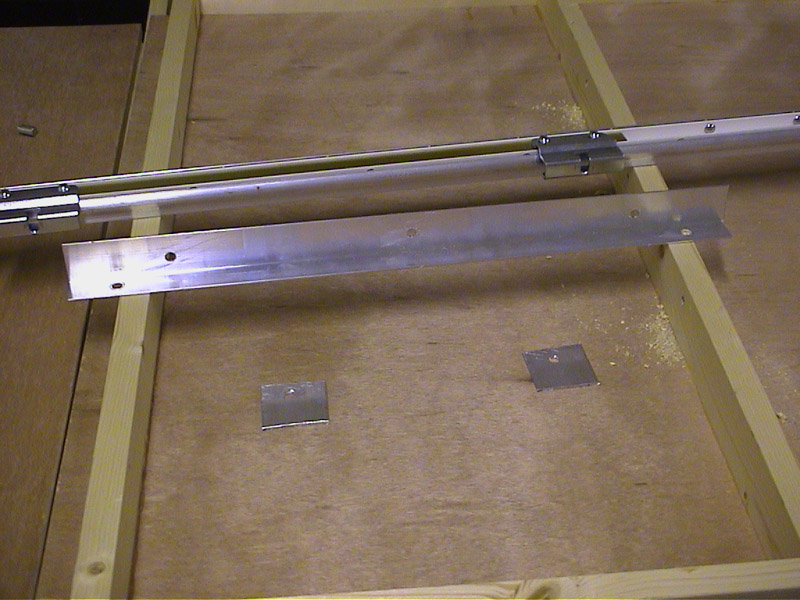
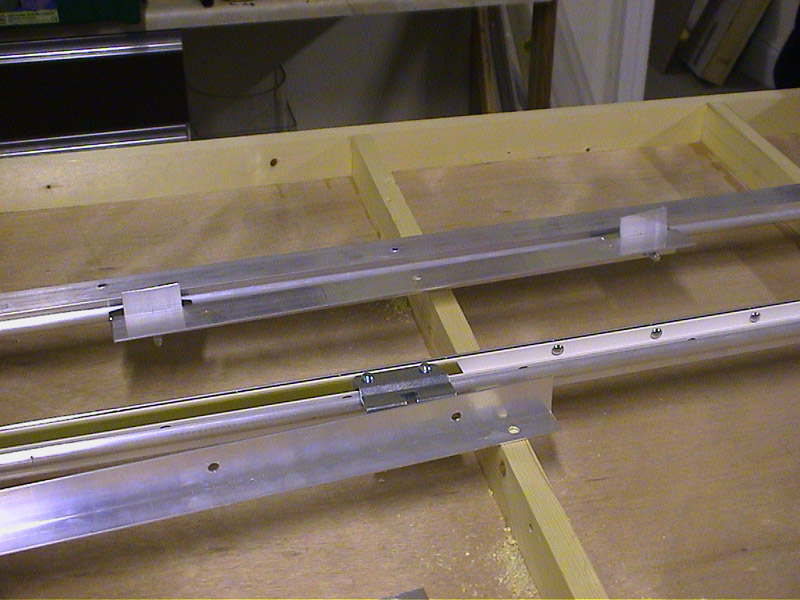
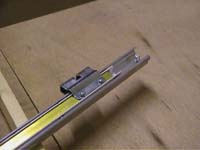
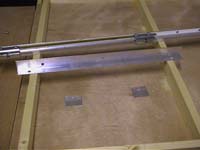
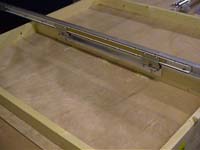
A piece of aluminium angle 18 inches long is drilled so that it can be screwed onto the sliding brackets.
|
|
The two small pieces of flat aluminium are securred between the angle and the sliding brackets.
|
 |
|
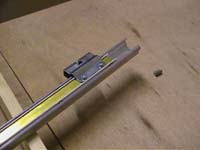
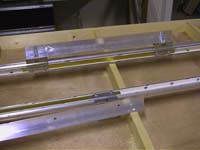
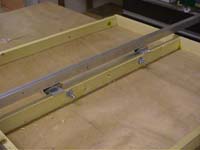
This view shows the aluminium shims protruding behind the sliding backet. This will provide extra support once the assembly is screwed to wood cross members of the sliding tray. |
|
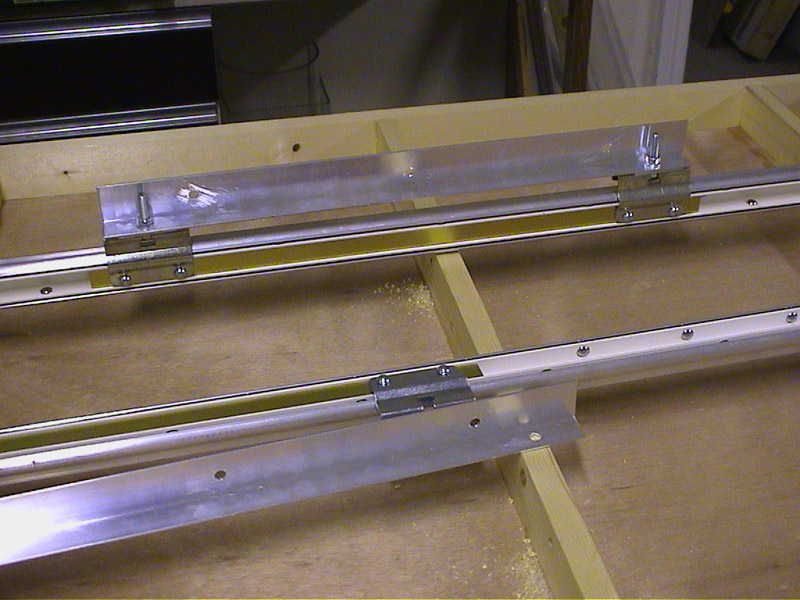
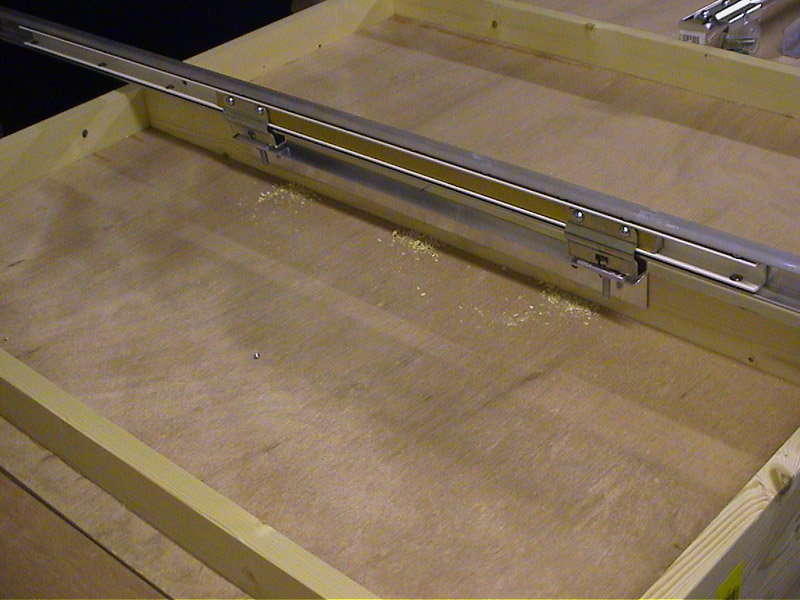
The other face of the aluminium angle is bolted through one of the cross members. |
 |
|
This picture shows the aluminium shims on top of the wood cross pieces.
|
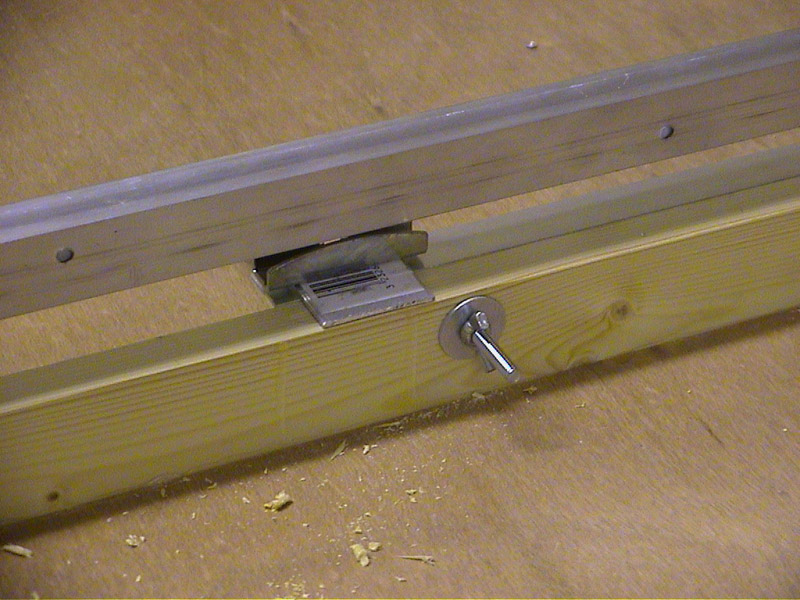
| A closer view of the fixture.
|
 |
|
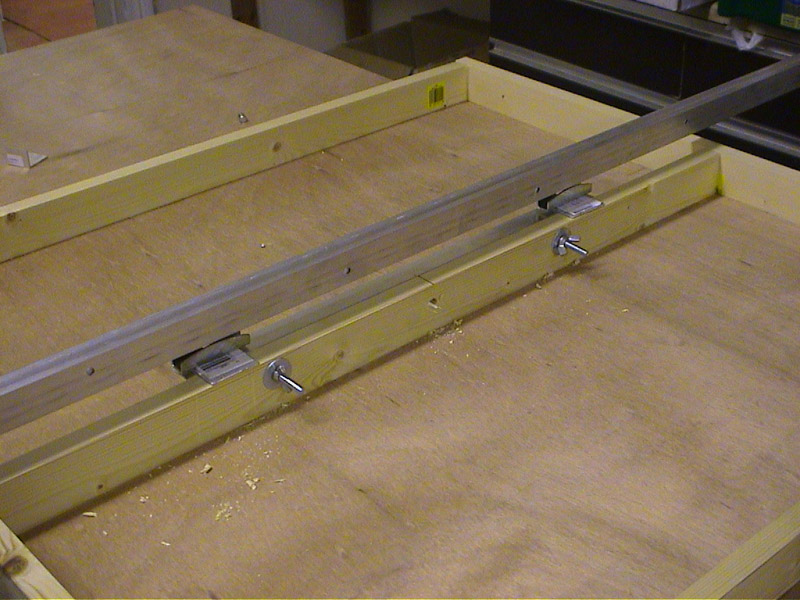
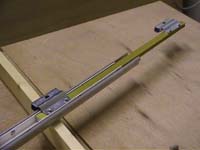
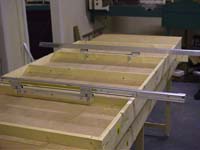
This final picture shows the both sliding arms in place.
|
Next week we bolt the sliding tray to the main frame.